Showing posts with label DIY. Show all posts

Tuesday, July 3, 2012

It's a HOT Mess

And not because it was over 100 degrees outside this weekend.

I work part time at a YMCA, and this time of year, there are children everywhere, all the time! The Y has camps all summer long, and with camps, there are craft supplies. I was like to rummage through them (as I usually do when I get bored) to see what they have and what the kiddos are making. I came around a plastic bag of....well of a HOT MESS! Take a look and judge for yourself.


Yeah, that's what I said! This picture really doesn't do it justice, it was worse than it looks.
I had a few hours to burn since apparently no one wanted to come out in the heat to workout so I dove right in and got to work....untangling.
Once I got some of it done, I needed some way to get it organized and possibly prevent it from happening again.
I found some old pieces of card stock, and cut them into little squares, and then cut a little slit on the one side.


Then I just cut little notches out of each side, so then it kind of looked like an "I".


Kind of like the ones you buy in the store, only not as neat LOL but a lot cheaper, and just as effective.
I worked on it for a couple of hours on Friday....


Recruited some help from a co worker on Saturday afternoon (when I went back to work), and finished it up.


Yeah, I was pretty proud of myself at this point.


I had a lot of short pieces that I just tossed, and I had to double up on some of the colors, because I ran out of cards.
When I went into work yesterday (my daughter had swim practice) I saw them sitting on high on a shelf totally away from the kids (along with the beads that I sorted the weekend before -I get bored)...LOL...I guess they don't want them to mess it up again.


**Check out my Link Party Party page to see where I party at!


Wednesday, June 20, 2012

Summer Writing

I'm still on my summer learning kick for my daughter, I went online and found (Pinterest, duh) a lot of different creative writing prompts. I printed and cut them up into long strips and folded them up.


Uh, now I need somewhere to store them...I'm sure I have a container laying around somewhere...LOL

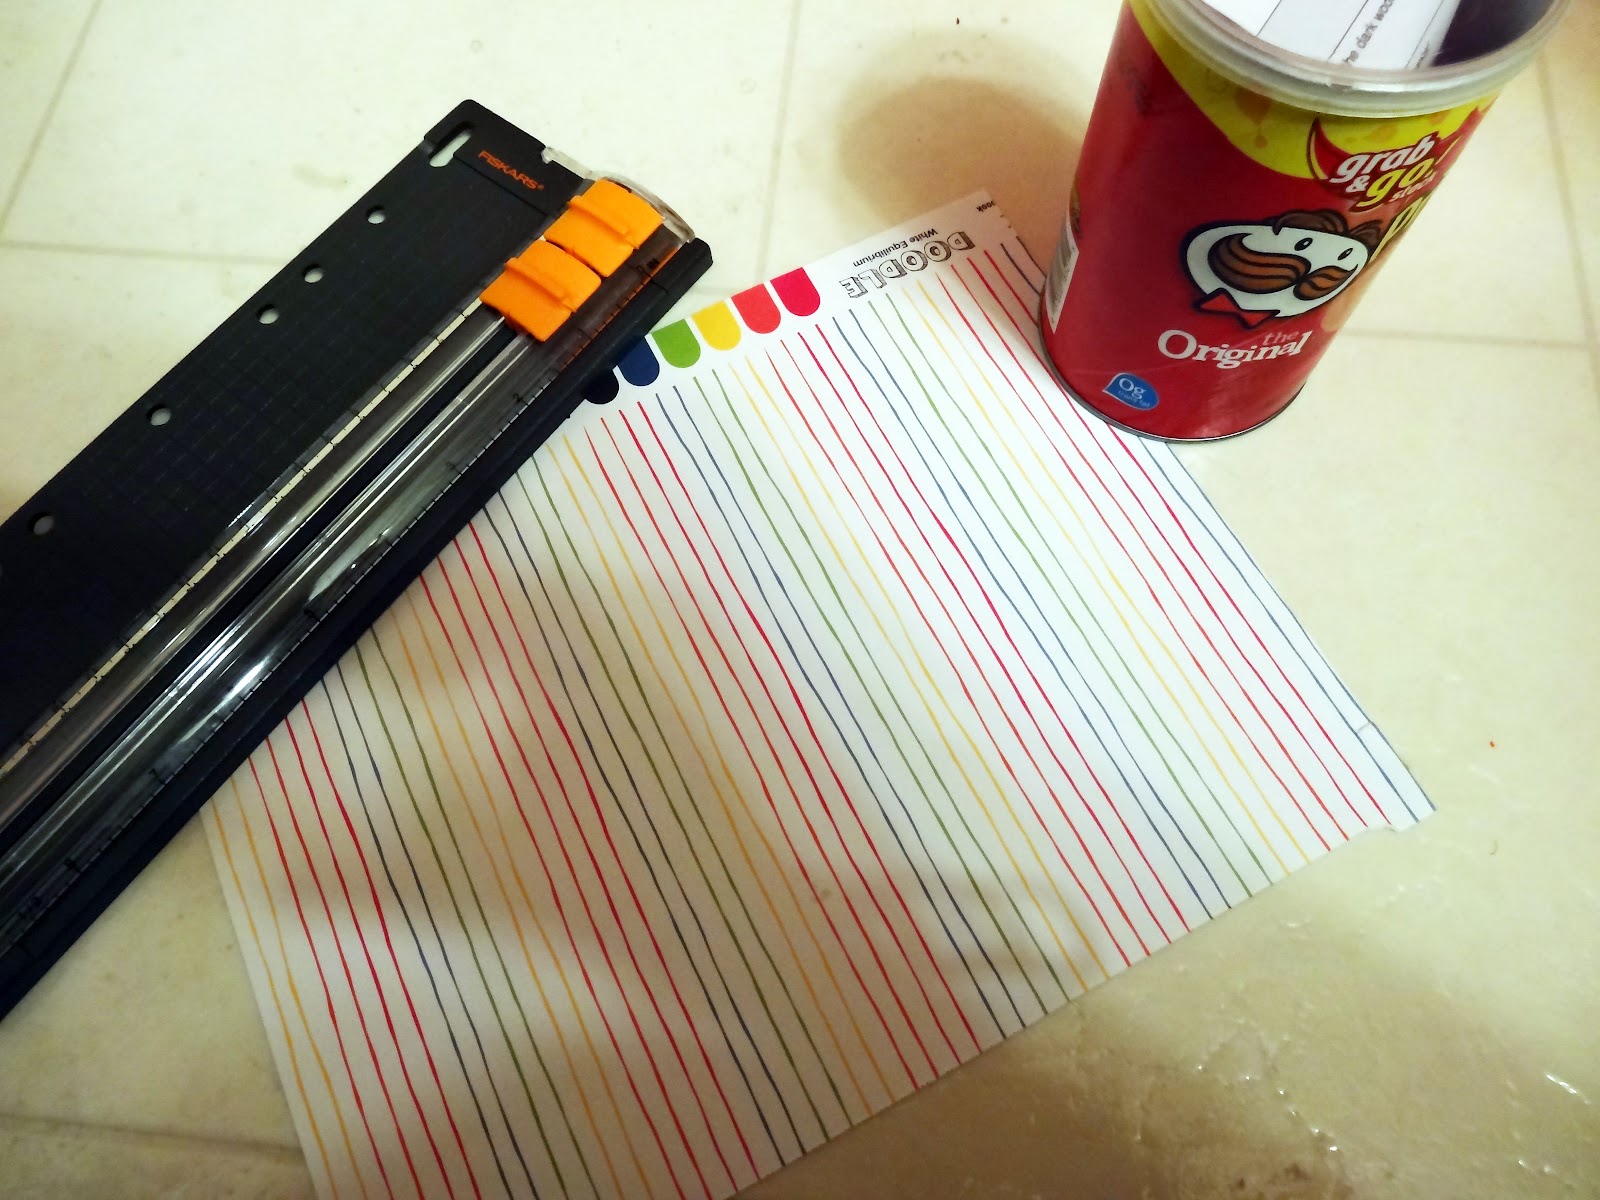
Yep, a Pringles can...it's one of the short ones.


Grabbed some scrapbook paper (this one is called DOODLE, thought it was fitting) and my little paper cutter. I also got these cute precut flowers from Michael's clearance dollar bins, I think I paid 40 cents for it.


I was going to glue the paper to the container, but double sided tape was so much easier and faster. And I'm all about fast and easy... That didn't sound right :)


Pretty cute, huh?


All of the slips of paper fit inside perfectly

Layered the flower (which was easy considering I had all the pieces in one package) and stuck it on the center of the container.

I even added a little ribbon around it.

Another container redo under my belt. :) I think it is so cute, that my daughter wan to write, so she can use the container. Score one for Momma.


**Check out my Link Party Party page to see where I party at!


Thursday, May 24, 2012

Wooden Bead Necklace


So I still seem to be on my jewerly kick! This ime it's not just a bracelet...


The other day I pulled out this really cute bracelet and earring set to wear..and realized that I didn't have a necklace to match. I had a couple of necklaces wth wood beads on them, but not an all wood one.
Light bulb!! I remember I had bought some wood beads for another project (that was an epic fail), dug them out along with a wood finish stain marker (you know the kind you use to cover up the dings in the wood furniture?). Here is what the beads looked like before I "stained" them:


I literally just colored them and let dry. It took a couple of days for the smell to go away :) Then I use some beadig wire (also from my stash) two small clear beads between the crimp bead and the woden ones. The hole in the wood beads it pretty big, I didn' want them sliding over the top of the crimp bead, hence the reason or the small clear ones. Added a clasp, and done. Here is the end result:

Cute, right?


 It turned out great. And is a very near match for the other two pieces.


I love it!


**Check out my Link Party Party page to see where I party at!


Wednesday, April 11, 2012

Pretty in Pink

On Easter Sunday, my daughter looked so cute in her pink cardi. You can't really see it in that picture, but she had a big pink flower in her hair. I was probably as big as her head, so I put it in the back.

It was a simple destruct and restruct project, that took no time at all (my favoritest kind). I saw this flowers in Michael's (on sale for a buck):


I didn't really like the big yellow center....


In comes the glue gun (don't judge my glue gun, I bought it back when I move back to KY...17 years ago), scarpbooking gems (uh, I am not a scrapbooker, but I really like pretty papers and gems), and hair clips (from The Plaid Barn).

First i cut the flower from the stem, then I cut the yellow center off. Of course by doing that there was nothing holding the petals together, so I put a dot of glue between each layer (on two sides). The I used hot glue to glue the gem to the center, and to glue the flower the the clip.


Tuesday, March 27, 2012

Rubberband Man!

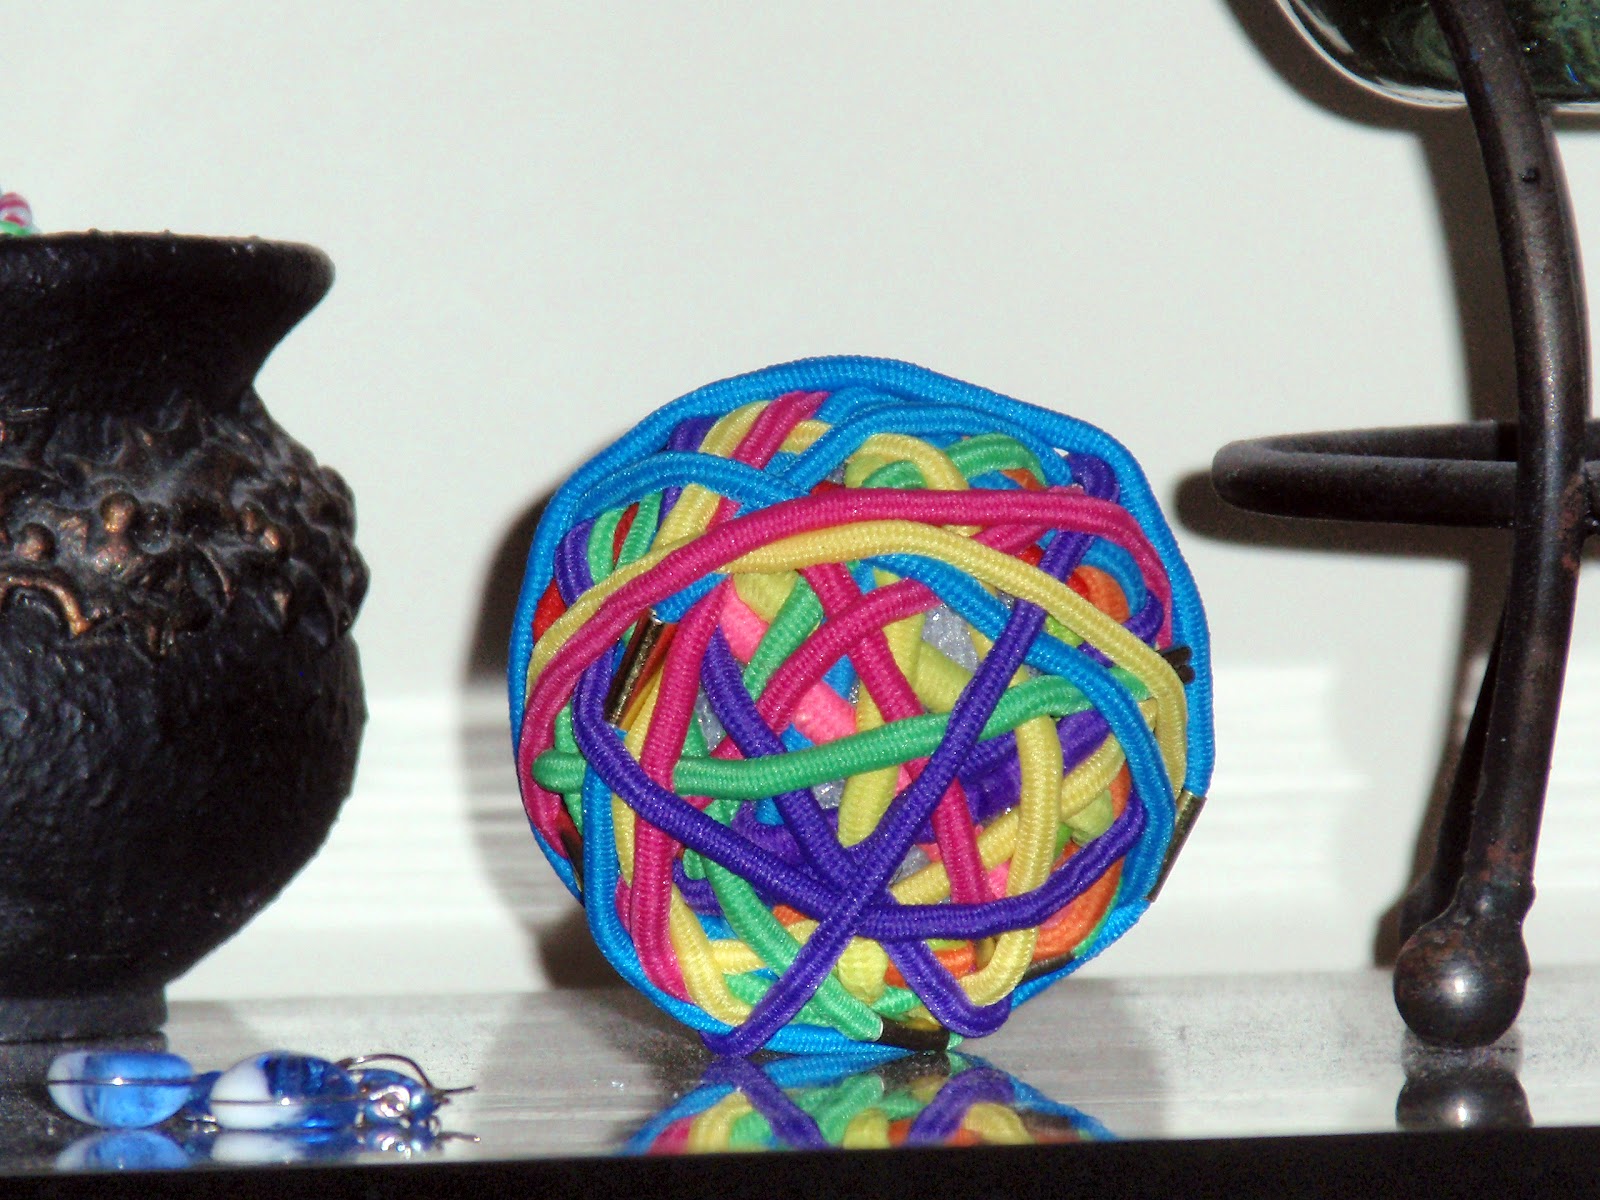
Ok, well not really rubber bands, more like elastic bands. But I use to like the Rubberband Man commercials. :) Anyway, I found these really cute hairband balls, and $3.50 is not expensive, but I knew I could do it or less, cause I'm cheap like that!

So I took the hairband I bought a few weeks ago, and some left over Styrofoam balls I already had....

$1 Spent

Then I just started wrapping them around


And added even more


Grabbed a second ball, and added some to that


Until I ran out!


Linking to: